Converting a file from Color to Black and White in Indesign!
*this post isn’t all that much of a post, but more so a how-to for inquiring minds 🤣
This is a super simple example of converting a color file in Indesign to Black and White in export! No more having to create multiple versions in color and black and white!!
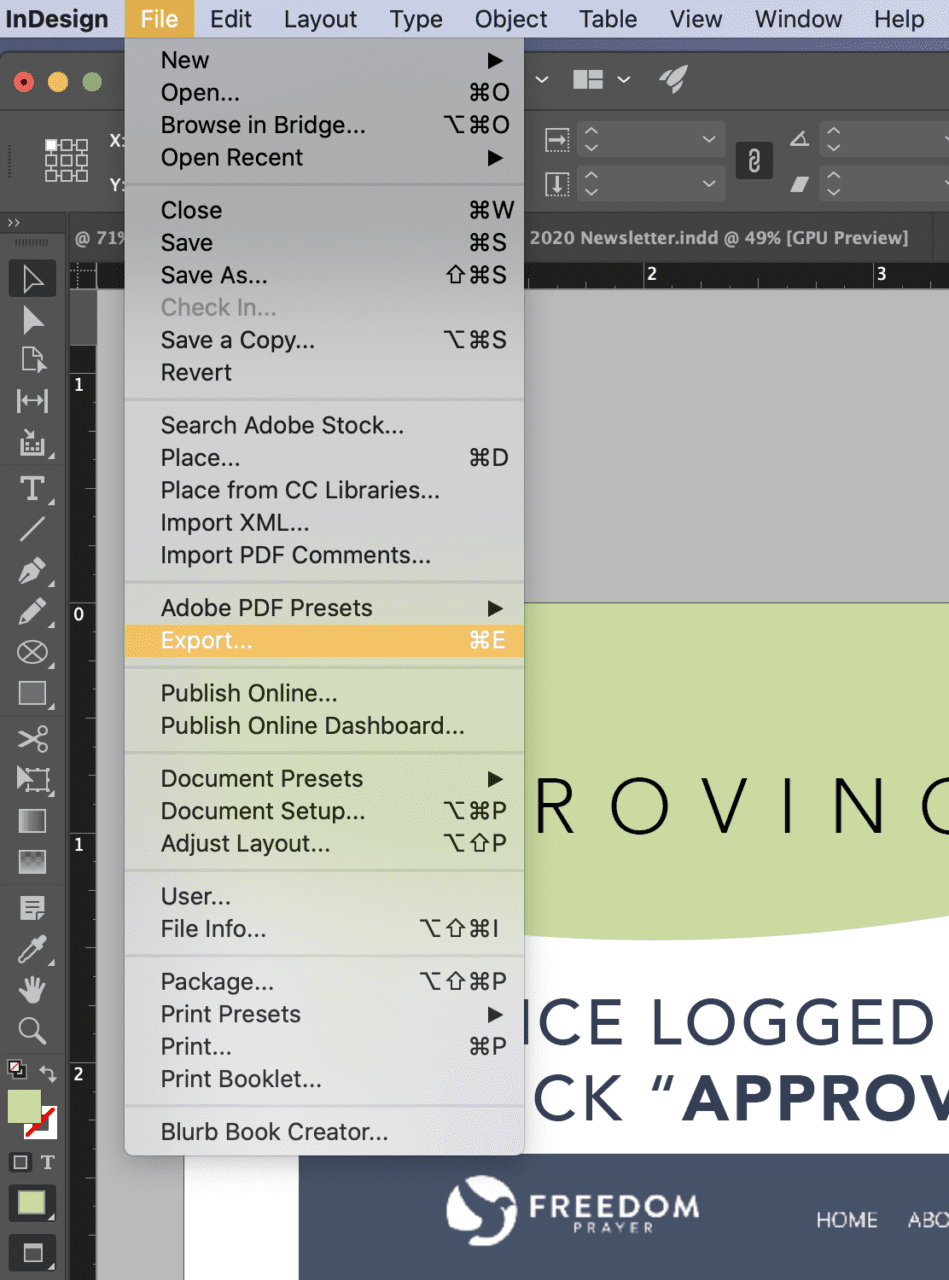
Go to FILE – EXPORT
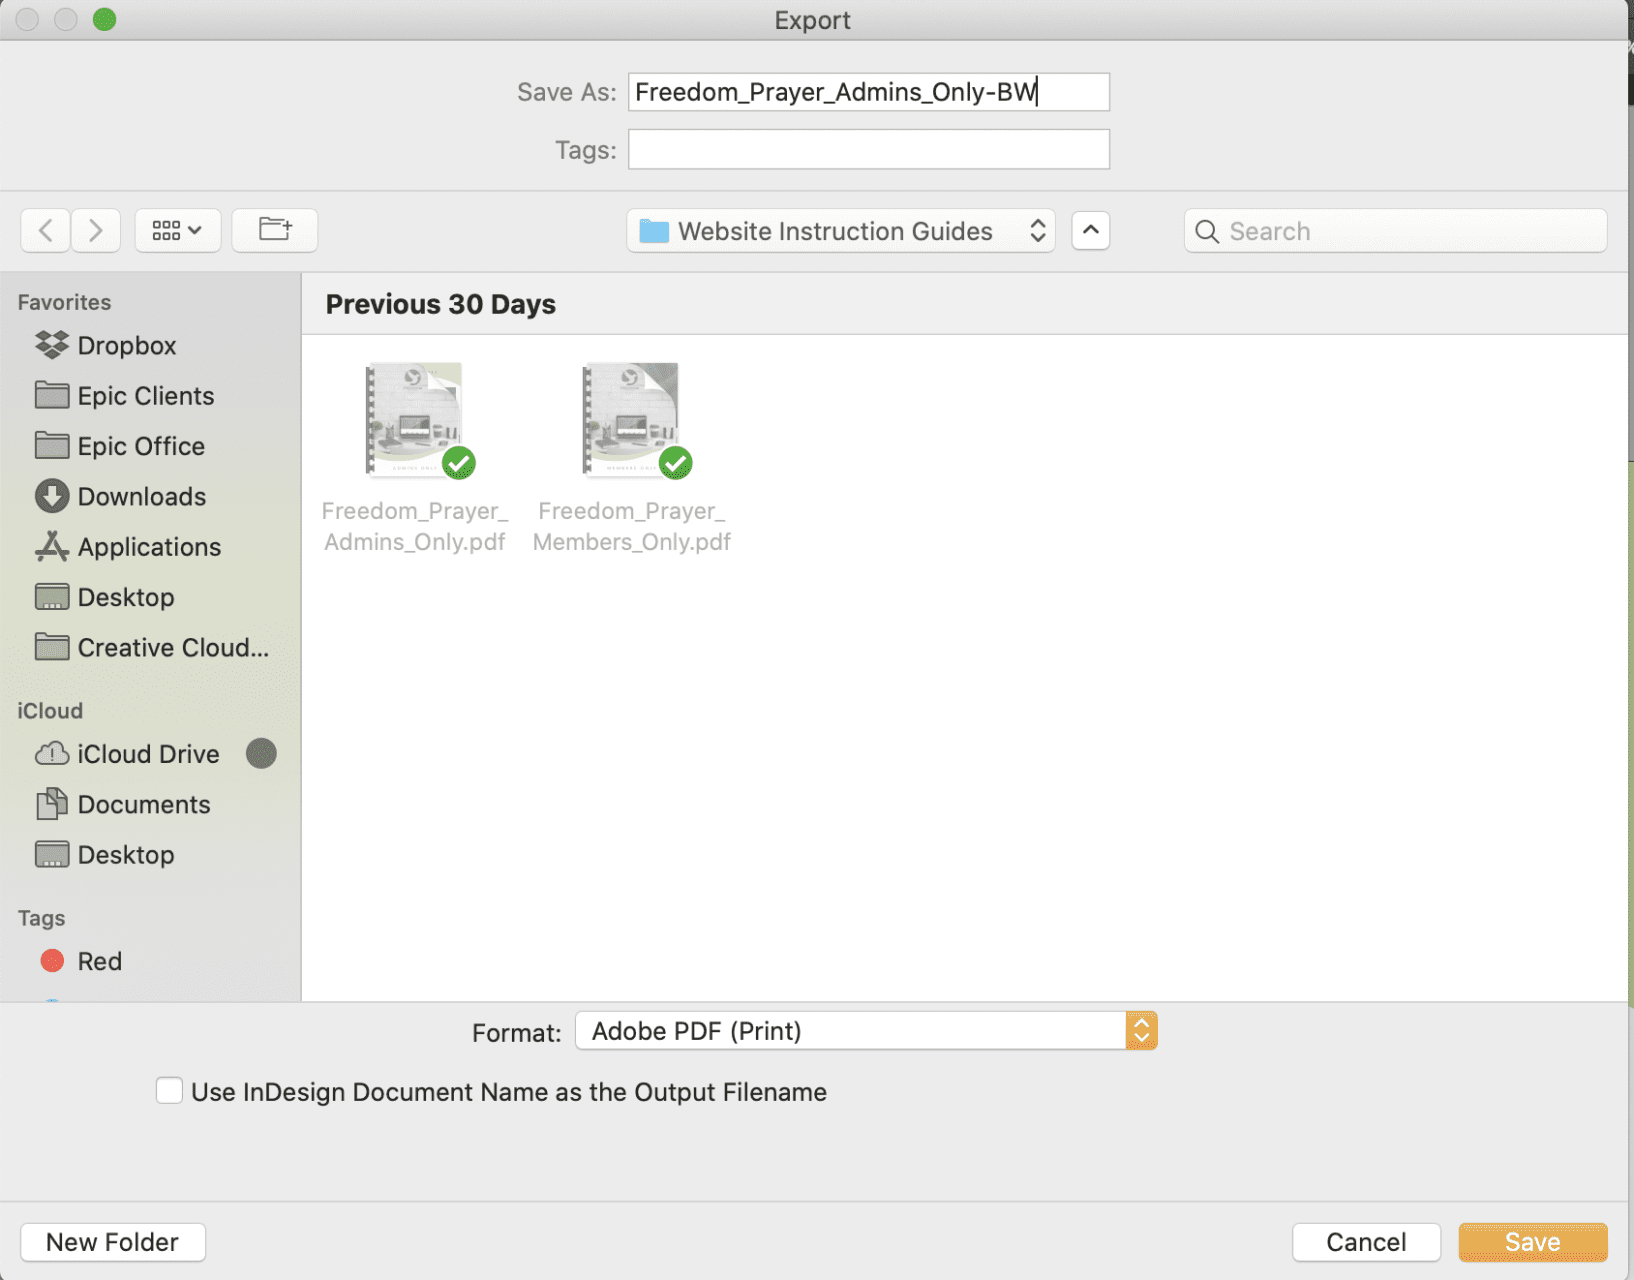
Name the file with – BW – last
Go to OUTPUT – and select to CONVERT TO DESTINATION
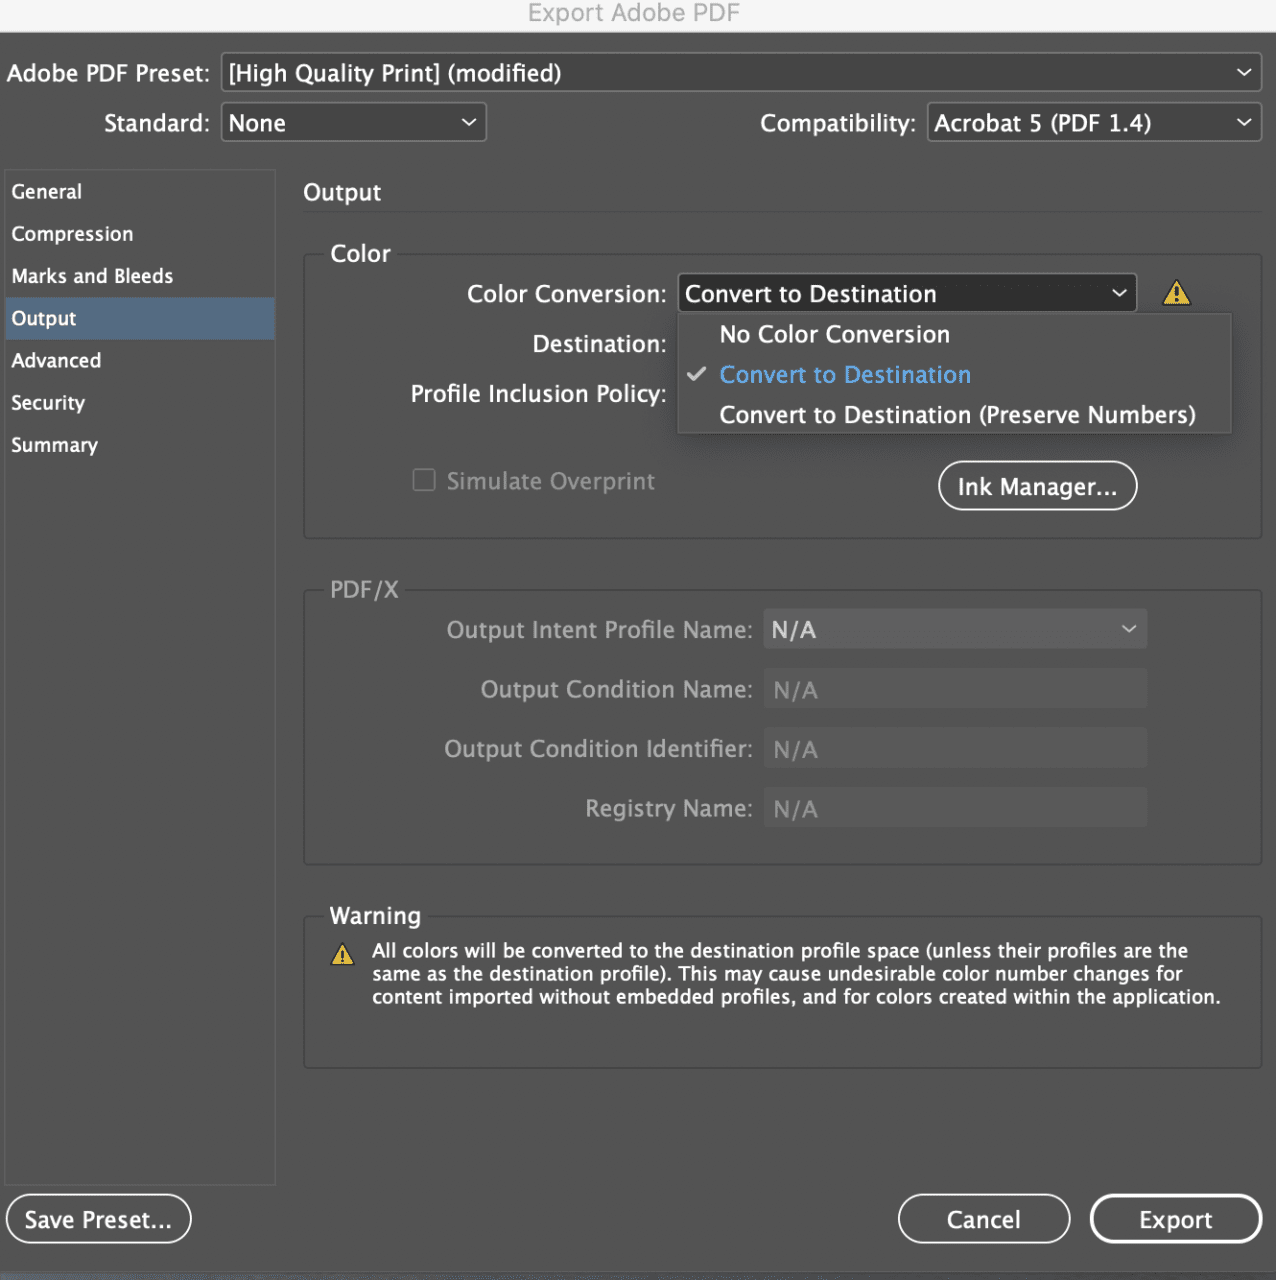
Select the Grayscale color profile, on my computer, it is called GENERIC GRAY PROFILE
Click export! You’re Done!
Or this Step-by-Step Guide to Converting a File from Color to Black and White in InDesign
Step 1: Open Your InDesign Project
- Launch Adobe InDesign and open the document that you want to convert to black and white.
Step 2: Select the Object
- Click on the object (image or graphic) you want to convert to black and white.
Step 3: Open the Effects Panel
- Go to Window > Effects to open the Effects panel.
Step 4: Apply the Grayscale Effect
- With your object selected, click on the fx button at the bottom of the Effects panel and choose Grayscale.
Step 5: Adjust the Grayscale Effect
- In the Grayscale effect settings, adjust the Tint slider to achieve the desired black and white effect. You can also adjust the Opacity if needed.
Step 6: Check and Adjust
- Ensure that the grayscale effect looks correct. You can make further adjustments to the Tint and Opacity as needed.
Step 7: Save Your Work
- Save your document by going to File > Save As to ensure your changes are preserved without overwriting the original file.
Tips:
- For multiple objects, repeat the process for each one or group them before applying the grayscale effect.
- For text, change the color to black using the Swatches panel.